Can You Combine PVS-14 Night Vision with Thermal Imaging? Exploring Your Options for Enhanced Nighttime Performance
The combination of night vision and thermal imaging has become increasingly popular in many fields. But what is the best way to use them together?
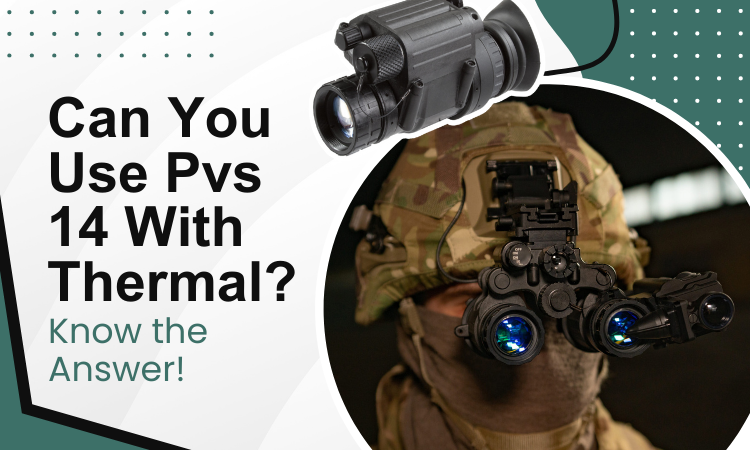
So, can you use PVS 14 with thermal?
The PVS-14 can be used with thermal easily by bridging. Bridging means using a special mounting device to connect the PVS-14 and thermal. Also, PVS-14 can be used with Enhanced Night Vision Goggle – Binocular (ENVG-B), Clip-On Thermal Imager (COTI), and Iray Terminal.
This is just a brief summary of the topic at hand. You will find all the details you seek right in this article.
How to Properly Use a PVS 14? Step-By-Step
The main difference between PVS-14 and thermal imaging is that PVS-14 amplifies ambient light while thermal imaging detects infrared radiation. When using a PVS-14 with thermal capability, it provides the user with the ability to detect heat signatures in complete darkness.
Now we’ll know PVS 14 how to use
Step 1: Turn on the device by rotating the power switch counterclockwise.
Step 2: Adjust the focus of the objective lens by rotating it clockwise or counterclockwise until the image is clear. Then, adjust the eyepiece focus to match your eye’s focus.
Step 3: Adjust the brightness by rotating the control knob until the image is visible but not too bright.
Step 4: Adjust the gain settings to enhance the image quality in low-light conditions.
Step 5: Mount the device on a head harness or helmet mount and adjust the height and tilt for comfortable use.
Step 6: Use the device to see in low-light conditions, such as in the dark or in low-light environments.
Step 7: When not in use, turn off the device by rotating the power switch clockwise and store it in a protective case.
Here’s a video you can watch if the steps are confusing How To Use The PVS-14
How to Use PVS-14 with Thermal?
Using a night vision monocular in conjunction with a thermal imaging device can be a powerful combination. This technique is commonly referred to as bridging.
So can you bridge PVS-14? Yes, you certainly can.
Bridging involves attaching the PVS-14 to a thermal imaging device, typically using a special mounting system. This allows the user to see both thermal and night vision images simultaneously, providing a more complete picture of the environment.
Bridging provides improved target detection at longer distances, more accurate threat identification, and better navigation in low light or dark conditions. This can be particularly useful in tactical operations, search and rescue missions, and hunting applications.
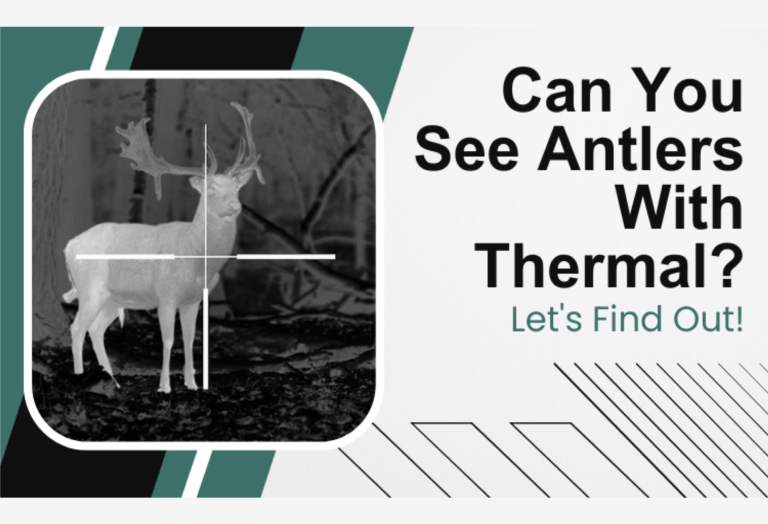
Bridging night vision with thermal will give you sight over antlers.
Bridging has limitations such as reduced image quality and increased weight and bulk of equipment. However, when used correctly, bridging can be a powerful tool for enhancing situational awareness and improving operational effectiveness.
Method 1: Enhanced Night Vision Goggle – Binocular (ENVG-B)
The Enhanced Night Vision Goggle – Binocular (ENVG-B) is a modern night vision system used by the U.S. military. It is designed to provide soldiers with enhanced situational awareness and target detection in low-light or no-light conditions.
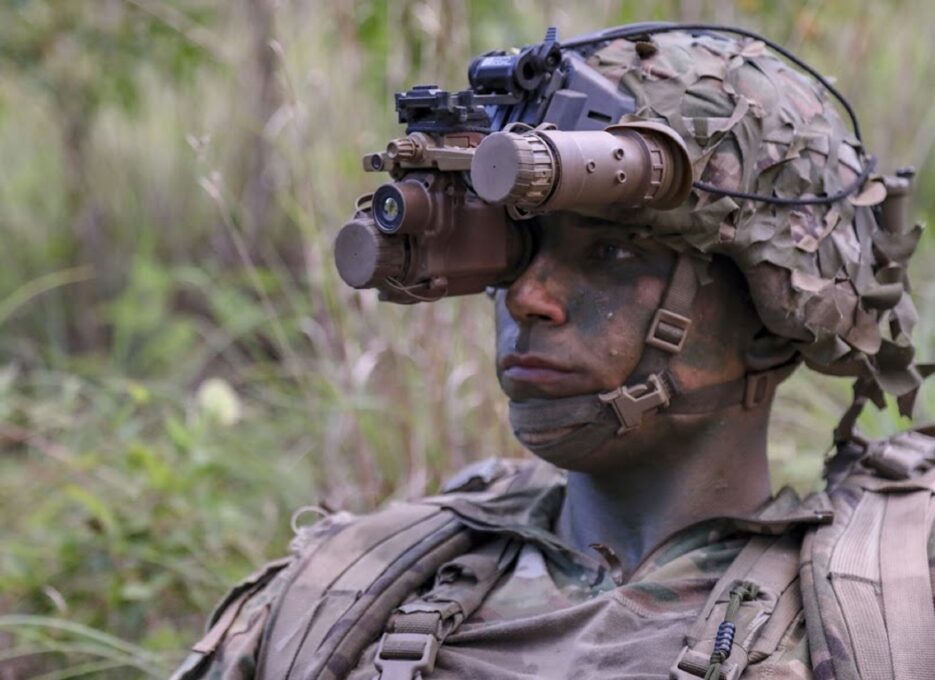
The ENVG-B system consists of a binocular goggle with two image intensifier tubes. They provide a stereoscopic view, along with a thermal imaging sensor that detects heat signatures.
The system fuses the images from both sensors to provide a clearer and more detailed image of the surrounding environment. This allows the user to detect and identify targets more quickly and accurately than using either sensor alone.
Here is how to use PVS-14 with the ENVG-B system. Follow the below steps.
Step 1: Attach the Wilcox bridge mount to your helmet or other headgear. The Wilcox mount should be securely attached to provide a stable platform for the ENVG-B and PVS-14.
Step 2: Attach the ENVG-B to the Wilcox mount. The ENVG-B should be attached securely to the Wilcox mount to ensure it stays in place during use.
Step 3: Attach the PVS-14 to the front of the ENVG-B using the mounting bracket. The PVS-14 should be securely attached to the ENVG-B to ensure it stays in place and provides a stable image.
Step 4: Attach the thermal device behind the PVS-14, also using a mounting bracket. The thermal device should be securely attached to the PVS-14 to ensure it stays in place during use.
Step 5: Turn on the PVS-14 and adjust the focus as necessary. The PVS-14 should be focused on the same object as the thermal device for optimal performance.
Step 6: Turn on the thermal device and adjust the settings as necessary. The settings may include adjusting the image polarity, brightness, and contrast to obtain the best possible image.
Step 7: Use the ENVG-B to view the combined image from both the PVS-14 and thermal device. The ENVG-B provides a binocular image, allowing for greater depth perception and situational awareness.
Step 8: Adjust the ENVG-B settings as necessary to optimize the image. This may include adjusting the interpupillary distance, focus, and brightness.
Step 9: Use the combined image to navigate and perform tasks in low-light or no-light environments. The PVS-14 provides low-light vision, while the thermal device can detect heat signatures, allowing for better detection of objects and individuals.
Step 10: Remember to regularly check and maintain the equipment to ensure optimal performance. This may include cleaning the lenses and checking for any damage or wear.
Method 2: COTI (Clip-On Thermal Imager)
Clip-On Thermal Imager (COTI) are devices that can be attached to a night vision to provide thermal imaging capabilities. It detects heat signatures, which can be useful in a variety of situations. For example, detecting people, animals, or vehicles that may not be visible with traditional night vision.
COTIs work by using an uncooled microbolometer sensor to detect heat signatures. And convert them into an image that can be viewed on a screen. They are designed to be lightweight and compact, making them easy to carry and use in the field.
Using PVS-14 with Thermal via COTI (Clip-On Thermal Imager) can be done in the following steps:
Step 1: Attach the COTI to the front of the PVS-14. The COTI should be securely attached to the PVS-14 to ensure it stays in place during use.
Step 2: Turn on the PVS-14 and adjust the focus as necessary. The PVS-14 should be focused on the same object as the COTI for optimal performance.
Step 3: Turn on the COTI and adjust the settings as necessary. The settings may include adjusting the image polarity, brightness, and contrast to obtain the best possible image.
Step 4: Use the PVS-14 to view the combined image from both the PVS-14 and COTI. The COTI provides thermal imaging, allowing for detection of heat signatures, while the PVS-14 provides low-light vision.
Step 5: Adjust the PVS-14 and COTI settings as necessary to optimize the image. This may include adjusting the interpupillary distance, focus, and brightness.
Step 6: Use the combined image to navigate and perform tasks in low-light or no-light environments. The PVS-14 provides low-light vision, while the COTI can detect heat signatures, allowing for better detection of objects and individuals.
Step 7: Remember to regularly check and maintain the equipment to ensure optimal performance. This may include cleaning the lenses and checking for any damage or wear.
Method 3: iRay Thermal
iRay is a brand that produces thermal imaging equipment, including thermal scopes and thermal cameras. Their products are designed for military, law enforcement, and civilian applications and are known for their high-quality imaging and durability.
Using a PVS-14 with iRay Thermal can provide a comprehensive picture of the environment, combining both night vision and thermal imaging capabilities. Here are the steps to use them together:
Step 1: Attach the iRay Thermal to the front of the PVS-14. The iRay Thermal should be securely attached to the PVS-14 to ensure it stays in place during use.
Step 2: Turn on both the PVS-14 and the iRay Thermal. Adjust the focus of both devices as necessary.
Step 3: Adjust the settings on the iRay Thermal to obtain the best possible thermal image. The settings may include adjusting the image polarity, brightness, and contrast.
Step 4: Use the PVS-14 to view the combined image from both the PVS-14 and the iRay Thermal. The iRay Thermal provides thermal imaging, allowing for detection of heat signatures, while the PVS-14 provides low-light vision.
Step 5: Adjust the PVS-14 and iRay Thermal settings as necessary to optimize the image. This may include adjusting the interpupillary distance (IPD), focus, and brightness.
Step 6: If your IPD is slightly wider, you can pivot both the thermal and PVS-14 out slightly for best alignment. If you have an extremely tight IPD, it is possible to offset the dove-tail adapter on the MH25 inward and not out. This is easy to configure and can be switched between the right and left eye.
Step 7: Use the combined image to navigate and perform tasks in low-light or no-light environments. The iRay Thermal provides thermal imaging capabilities, allowing for detection of heat signatures, while the PVS-14 provides low-light vision.
Step 8: Remember to regularly check and maintain the equipment to ensure optimal performance. This may include cleaning the lenses and checking for any damage or wear.
If you have any further troubles, check this video out.
What Is The Difference Between PVS-14 And Thermal?
The answer to what is the difference between PVS-14 and thermal is the same as what is the difference between night vision and thermal?
The main difference between the PVS-14 and thermal imaging devices is how they detect and display images.
The PVS-14 is a night vision device that amplifies available light, including infrared light, to produce a visible image. Thermal imaging devices detect heat emitted by objects and display the image based on the temperature differences in the scene.
Night device visions It works by using a special tube that captures and amplifies the light. It is then displayed on a green phosphor screen. On the other hand, thermalThe device captures the infrared radiation emitted by objects and converts it into an electronic signal. It is processed to produce an image.
The image produced in thermal is displayed in a grayscale or color palette. It represents the different levels of temperature in the scene. Hotter objects appear brighter and colder objects appear darker.
One advantage of thermal imaging devices over the PVS-14 is their ability to see through darkness, smoke, fog, and other obscurants. Because they detect heat signatures rather than relying on ambient light.
Additionally, they can detect hidden or camouflaged objects not visible to the naked eye or night vision devices.They can also detect the presence of objects that are not visible to the naked eye or night vision devices this includes camouflaged or hidden objects.
However, thermal imaging devices have some limitations. They cannot provide the same level of detail and resolution as night vision devices like the PVS-14. It’s because the image produced is based on temperature differences rather than visible light. They are also more expensive than night vision devices and may require more power to operate.
Advantages & Disadvantages of Using PVS-14 With Thermal?
| Pros | Cons |
| Increased visibility in darkness | Complex |
| Enhanced target detecting | Expensive |
| Better operational capabilities | Could be unreliable if done poorly |
Frequently Asked Questions (FAQs):
Is IR and thermal the same?
Yes, the thermal radiation and the infrared radiation are the same thing if the sources of the radiation have temperatures comparable to the room temperature. In general, the two terms are different: the infrared radiation is defined by having the wavelength in the fixed interval 0.7 – 300 micrometers (a convention).
Which is better night vision or thermal imaging?
Night vision works by amplifying visible light, while thermal imaging uses infrared sensors to detect objects’ temperatures. Essentially, night vision increases the intensity of the light in a scene, which is then transformed into greenish-hued images. On the other hand, thermal imaging converts heat signatures into vivid images.
Does PVS-14 have IR illuminator?
The PVS-14 night vision monocular device can come with an IR illuminator, but not all versions have it. The IR illuminator provides additional illumination in low light or dark environments, emitting infrared light that is invisible to the human eye but detectable by the PVS-14.
Conclusion
And that concludes our discussion on can you use PVS-14 with thermal. You can and there are multiple ways of doing it. We talked about the easiest ones in this article.
Go through our article and see which method is suited for you. Watching the videos will give you an even better idea of how the setup might look.
Good luck!